Ballbit Adventure
Collaboration based physical game.

3 month
RISD advance studio
As enthusiasts of both video games and toys, Charlie and I were deeply fascinated by the playfulness of these entertainment mediums. Ballbit Adventure is our attempt to create a playing experience that takes inspiration from modern cooperation-based video games while featuring the physicality of a tangible toy.
This project was made in a class called Ai Smart toys taught by Stefania Druga. Our project was late featured in the CHI PLAY 2019 conference in which Charlie and I wrote a research paper discussing the goal of our design. For detailed documentation of this project during the class clicked the left button below. For CHI PLAY 2019 interactivity track paper click on the button on the right.

CHI PLAY 2019 showcasing Ballbit adventure
Process video:
The following video documents the development of Ballbit Adventure.
The initial development stages of our game consist of many prototypes and test models to communicate the feeling players are expected to feel as they play the game. Our first demonstration prototype is called Ballbit-racing adventure, in which Charlie and I made a quick foam core model to demonstrate the basic concept of our idea. In this game the logic and mechanics are simple: three players must control their own cars and maneuver through a series of obstacles to reach the finish line. Players must work in with one another since every car must reach the finish line. Images below show the mockup model.


Trailer video:
In addition to the foam core model, we made a quick trailer video to demonstrate our idea in greater detail.
Attachable module prototype.
After listening to the feedback on Ballbit racing adventure, we realized that it is necessary to allow for customization of the cars and the tracks, as the capacity for customization is what empowers players to be more creative and involved in the game. To help us further develop our concept, Stefania introduced us to a bunch of preprogrammed toys. Charlie and I had our eyes on a toy called Sphereo, which is a controllable ball that has a lot of potential for customization.
Using a Sphero:
These are some potential ideas for adding modules to the robotic ball Sphero, the spherical quality really served our purpose. After we decided to use Spheros in our game, the next step is to design some tracking for the Shperos and the modules.
Tracking prototypes.
From potential obstacles to stations where the Spheros can attach modules, Trackings are a big part of the play experience. We begin by prototyping interesting contraptions that the Spheros could interact with. Images below show a few examples we explored with.


These videos below show how some of these prototypes work.
Wooden prototypes.
After exploring with simple foam core prototypes, we felt that we were at a good place to start making a more resolved version, in which every is more rigid and refined. We wanted to make different modular levels with each level containing at least two floors, one for obstacles, one for resetting/restarting. We also wanted these levels to stack on top of each other since moving from bottom to top seemed to us to be a logical advancement. We used Solidworks to map out the dimensions of each level and created templates to base our models around.


We used 0.25 inches birch plywood to construct this prototype. He are some wood working process we went through.
Assembling level 0, 1 and 2.


Ballbit adventure 2.0 user test.
We invited our peers to test out the three levels we built so far and received much constructive feedback on how to improve the overall play experience. The general reaction to our game thus far has been positive.


Our next version of Ballbit adventure will focus on making the play experience more smooth and easy since difficulty and consistency was a major problem that emerged from our user testing. We will make the levels more open, thus allowing more room for customization. We also imagine the use of transparent materials for our next design in order to improve user perception of each level. Below is a collection of renderings that shows the incorporation of transparent materials. These images do not represent the final design.

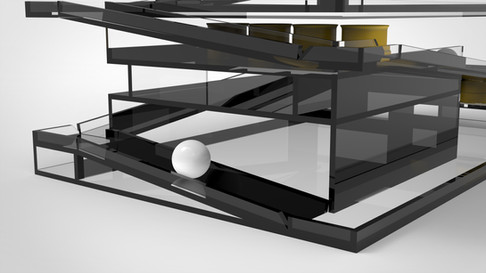


Despite this vision, we felt we are not ready to jump right into acrylic or any other transparent materials yet, instead, we decided to use foam core as it can be easily modified. Here is a list of things we wished to change:
Ballbit 2.0:
Levels too hard
Wood
Ballbit 3.0:
Arduino mechanism to reduce the difficulty
Foam core
Lacks customization
Levels will be modulized
Ballbit adventure 3.0
After noticing that there are many dead-end situations that require hand adjustment, we felt that we need to provide the user with enough tools so that they would always have a way to continue the game without using their hand for reset, and this requires mechanical movements. To address this problem, we introduced a few Arduino powered mechanism to make the overall gameplay more automated and hands-free. The top left corner is a potentiometer powered flipper, which can reset the orientations of the casing. The top right corner is a stepper motor powered elevator, which can carry the Sphero to the next floor.
Top left is a release mechanism for a new bridge attachment we developed. Top right shows how we putt everything together.
This video shows our testing of the Arduino enhanced prototype that were made with foam core.
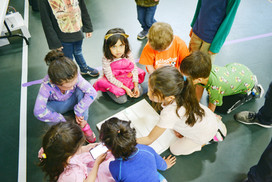
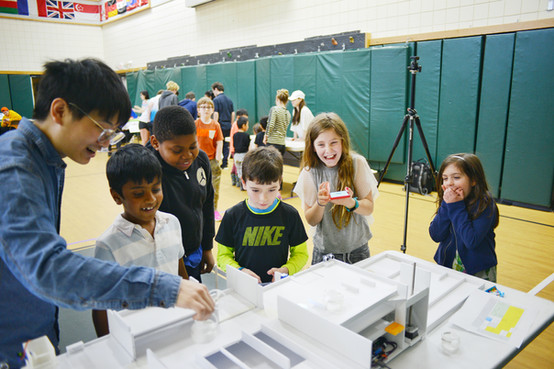
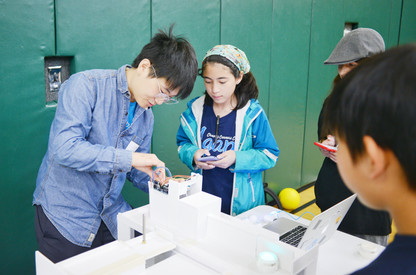
Playtest 3.0: Lexington Montessori School
We asked the students at Lexington Montessori school to test out our prototypes!


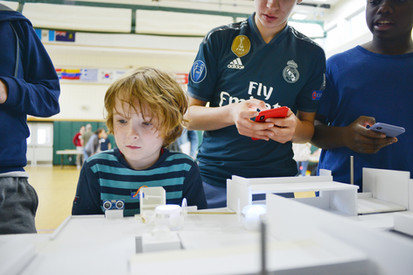

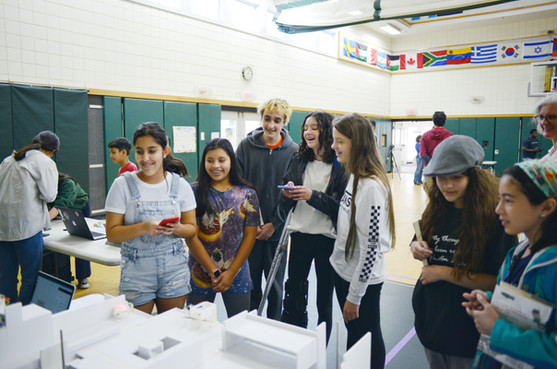
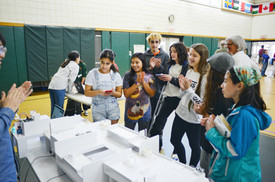

User testing video:
From the feedback, we got from the user test, we narrowed down to three main improvements we need to incorporate into the next generation of Ball bit adventure:
Ballbit 3.0:
3 floors
Foam core
White outlook
Ballbit 4.0:
2 floors
Acrylic
Color incorporated
Ballbit adventure 4.0
Final prototype for Ballbit adventure.


Example setup
One setup for Ballbit adventure.


CHI PLAY 2019
Charlie and I presenting our project at CHI PLAY 2019.


Thank you!